Creating Text | |||
| |||
Click Text
 in the Profile toolbar (Predefined Profile sub-toolbar).
The Text Creation dialog box appears.
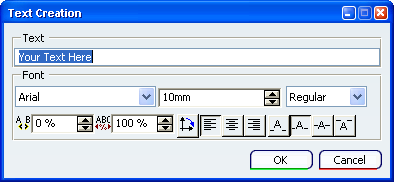
The Sketch Tools toolbar displays the value boxes for defining the horizontal (H) and vertical (V) point coordinates to set the position of the text.
Keep the default orientation of the text.
Note: You can click Indirect
 to change the orientation of the text with respect to the support geometry.
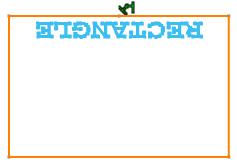
Click one of the following options to define the horizontal alignment of the text:
- Left Alignment

- Center Alignment

- Right Alignment
 .
.
Note: These horizontal alignment options are dependent on the selection point on the curve.
- Left Alignment
Click one of the following options to define the vertical alignment of the text:
- Descender

- Baseline

- Middle

- Ascender
 .
.
Note: These vertical alignment options are dependent on the support curve.
- Descender
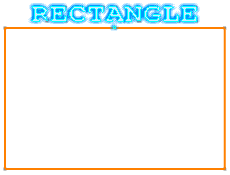
Click OK when done.
The text is created on the linear support.
Notes:
- If you select the circular support, a text is created as shown below:

The Fix Together
 constraint is created between a text and a support, if the Create Detected Constraints
  option is selected in the Tools toolbar.
- If you select the circular support, a text is created as shown below: