Installing a 3DLive Client | ||
| ||
Double-click the 3DLive.msi file.
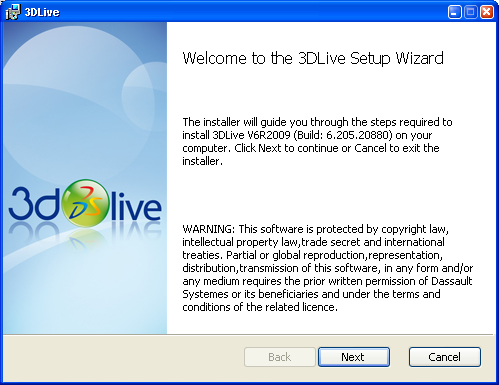
The installation is launched and a welcome dialog box appears. Click Next to continue.
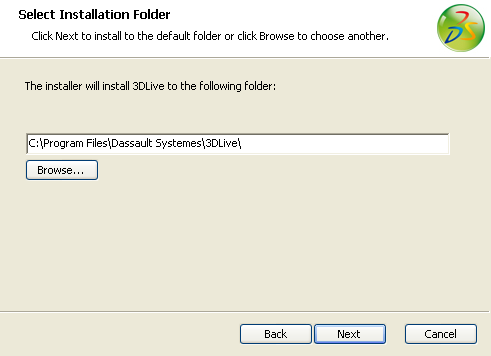
The following dialog box concerns installation folder selection. Enter the installation folder path and name and then click Next.
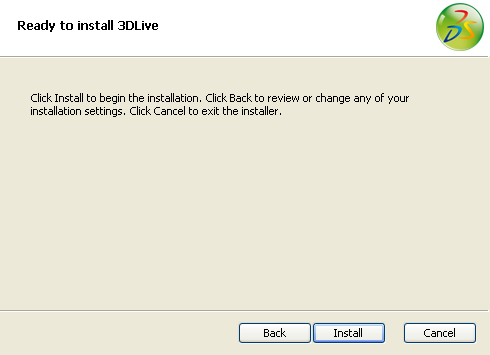
The following dialog box concerns installation confirmation. Click Install to confirm and start the installation.
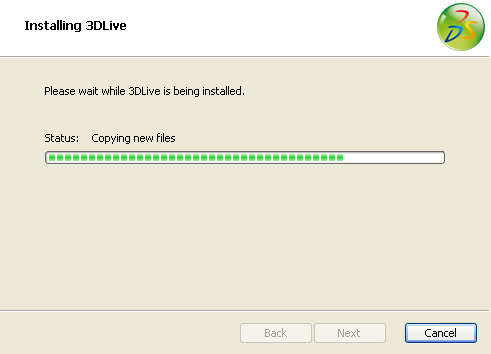
The installation begins. A progress bar indicates the progress of the installation process.
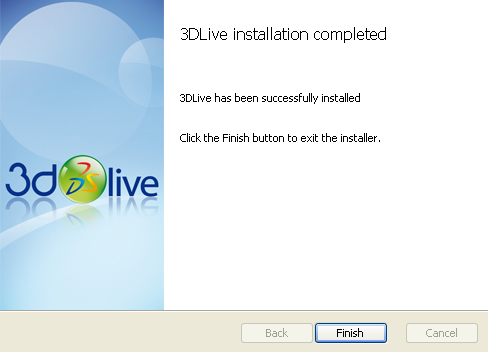
When the Installation Complete dialog box appears, indicating that the installation has completed successfully, click Finish to exit the installation process.
Note:
The
3DLive
installation creates the following on your machine:
- An environment file called 3DLive.txt created under $installpath\CATEnv
- A shortcut called 3DLive will be created on the desktop and in the Start menu.
| Important: It is not possible to install a 3DLive Client using the MSI file on a Windows Server OS. It can only be installed on a Windows Client OS. |