Attaching/Checking/Detaching an Object to a Manikin | |||||
|
| ||||
Attaching an object to a manikin segment
This describes how to attach a object to a manikin segment. Have the manikin in the required pose.
Select the Attach/Detach icon.
 .
.Click the Box1 from the PPR tree.
Selecting from the tree enables you to select of all the objects that create the box.
Click OK in the Attach/Detach dialog box.

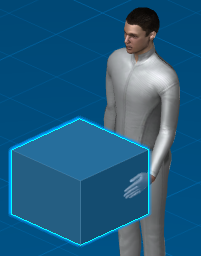
Note: If there is multiple attaches, the Attach/Detach box appears with the other selections. Once the object is attached, it follows the motion of its master segment. Move the hand (master segment) using forward kinematics and inverse kinematics. The tool follows the hand's motion. This is also the case when a posture is applied to the manikin or if the manikin as a whole is moved within the 3D environment. The attachment is shown as an Attachment connector is visualized in classic Product (and PPR) tree with a specific node under its contextual Product node.

![]()
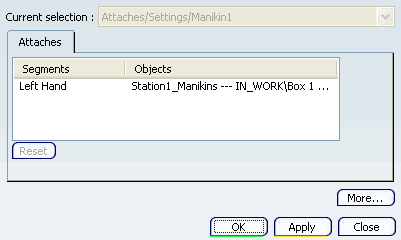
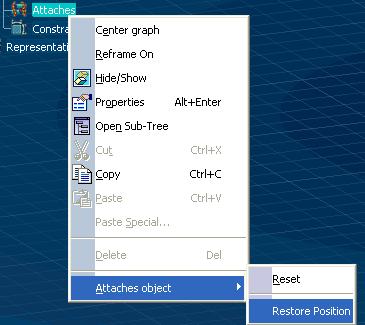
Viewing / Deleting Attachments on a Manikin
This describes how to view existing and delete attaches on a specific manikin.
The Properties dialog box appears.