Concepts of the Auto Grasp | ||
| ||
The Auto Grasp
This describes the functionality of the Auto Grasp.
The typical scenario when using the auto-grasp is to carry out the steps in the following order:
- Manually position the hand near the object(s) to grasp. This may be done using a combination of the existing positioning tools: Forward Kinematics, Inverse Kinematics Mode, Reach Mode, Place Mode, etc.
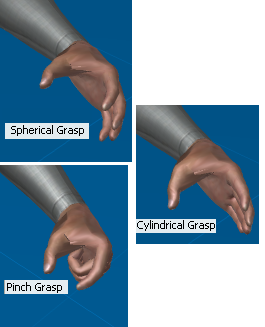
- Select the type of grasp to perform. There are three types of grasp: cylindrical, spherical and pinch
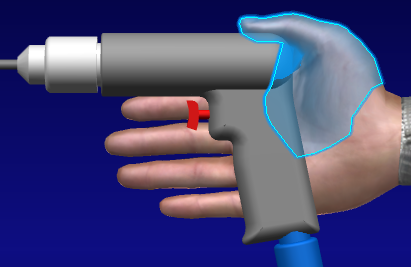
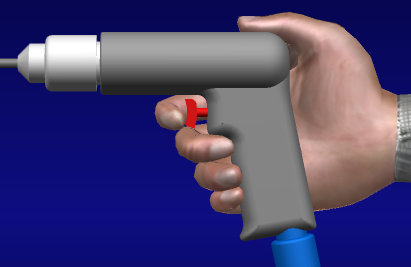
- Select the hand to perform the grasp. The grasping hand, when selected, is highlighted in a characteristic color (green, in the snapshots).
- Select the object(s) to grasp. The object to grasp may be selected by a simple mouse click: multiple objects may be selected, using the CTRL button on the keyboard.
- Execute the grasp, by pressing the Execute Auto Grasp icon. This icon becomes available only when one or multiple objects are selected.
- Fine-tune the grasp. Once the grasp is performed, you may fine-tune the grasping posture by moving some fingers, in forward kinematics

for example, and pressing the execute icon again. Furthermore, if some fingers of the grasping hand are multi-selected using CTRL, these fingers are considered as part of the 'objects to grasp' and doesn't move during the next grasp execution. - Undo the grasp. To choose to undo the grasp (i.e. reopen all fingers), by selecting again, one of the grasp type icons. This brings you back to the second bullet. The following snapshots illustrate a cylindrical grasp.
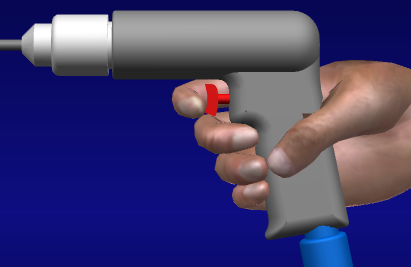
The different grasps
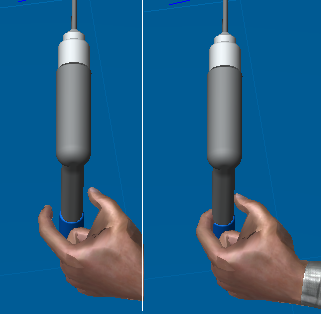
The snapshots below illustrate a pinch grasp. The pinch grasp is performed by the thumb and index fingers only.
![]()
Collision Detection
This describes the functionality of the Collision Detection.
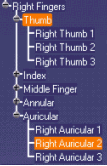
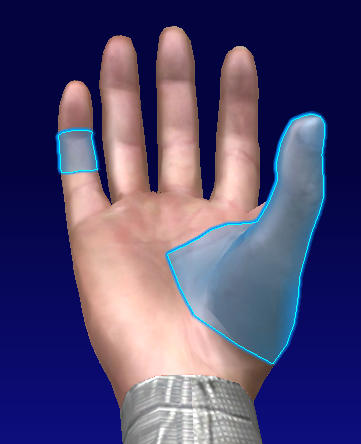
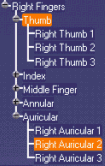
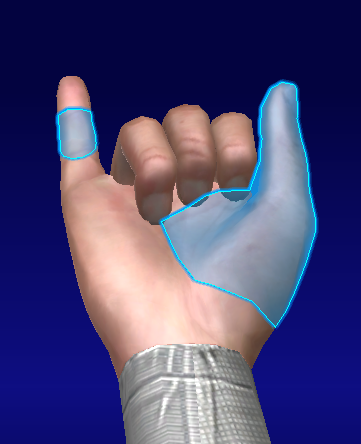
The collision detection is calculated between the active hand (i.e. the one colored in green) and the selected (highlighted) objects. Thus, by selecting specific phalanges (as in the snapshot below) or by selecting complete fingers (i.e. thumb selection), these selections remain unmoved, as they appear to enter into a collision with themselves.
The net result is that every segment in green are considered for the motion, whereas every object highlighted doesn't move.
![]()
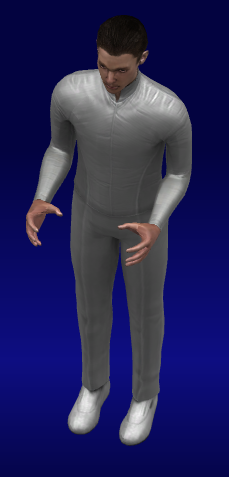
Automatic Grasp in Standard Pose
This describes the automatic grasp in the standard pose.
The automatic grasp feature is also integrated into the Standard Poses Standard Pose dialog box. The existing Hand Grasp tab has been enhanced to integrate the grasp icons, as well as the execute button. The interaction required to perform an auto-grasp from the Standard Pose is very similar to the one occurring when using the Manikin Auto Grasp toolbar. The same steps as those appearing above may also be used here.
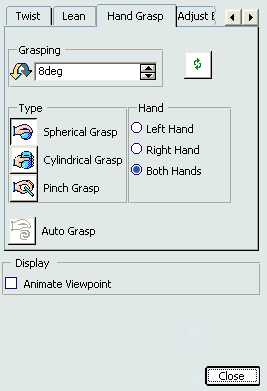
Selecting the Standard Pose dialog box  then select a manikin or a manikin
segment. If the segment selected is a hand or a finger, the
Standard Pose dialog box opens and displays the Hand
Grasp tab directly.
then select a manikin or a manikin
segment. If the segment selected is a hand or a finger, the
Standard Pose dialog box opens and displays the Hand
Grasp tab directly.
![]()
Using the Execute Auto Grasp with the Tools > Option / General, Locking segments
Using the Execute Auto Grasp with the Tools > Option / General, Locking segments.
Setting this option keeps the highlighted segment(s) stationary when applying the Auto Grasp function. This option is useful when an alternative position of a segment other than the default is desired. Segments should be free of collisions before using the Auto Grasp. This option doesn't resolve collisions of locked segments.
Without the option highlighted :
With the Option highlighted and the thumb segments repositioned and highlighted.