Creating Polylines | |||
| |||
Click Polyline
 in the Wireframe toolbar (Line-Axis sub-toolbar).
The Polyline Definition dialog box appears.
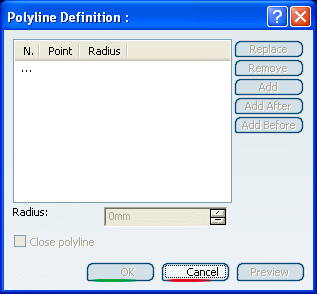
Select several points in a row.
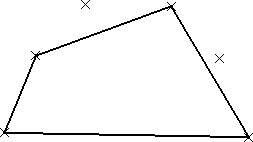
The resulting polyline would look like this:
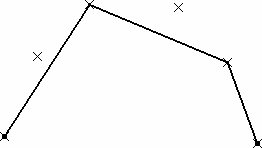
From the dialog box, select Point.5, click the Add After button and select Point.6.
Select Point.3 and click Remove.
The resulting polyline now looks like this:
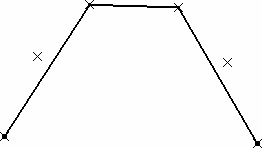
Still from the dialog boxm select Point.5, click the Replace button and select Point.4 in the geometry.
The added point automatically becomes the current point in the dialog box.
Click OK in the dialog box to create the polyline.
The element (identified as Polyline.xxx) is added to the specification tree.
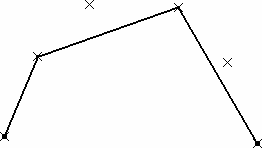
Double-click the polyline from the specification tree.
The Polyline Definition dialog box is displayed again.
Select Point.6 within the dialog box, enter a value in the Radius field, and click Preview.
A curve, centered on Point.6, and which radius is the entered value (R=30 here) is created.
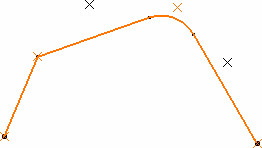
Important: - You can define a radius for each point, except end points.
- You can also define radii at creation time.
- The blending curve's center is located on the side of the smallest angle between the two connected line segments.
Click OK to accept the new definition of the polyline.
- The polyline's orientation depends on the selection order of the points.
- You can re-order selected points using the Replace, Remove, Add, Add After, and Add Before buttons.
-
You cannot select twice the same point to create a polyline. However, you can check the Close polyline to generate a closed contour.
