Click Shell
 .
.
The Shell Definition dialog box appears.
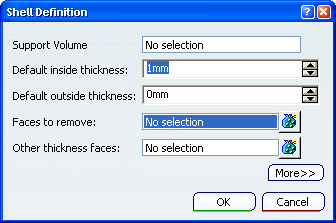
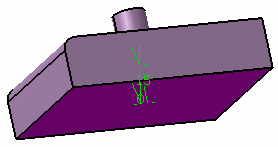
Select the Face to remove.
The Support Volume field is filled with the volume
owning the selected face.
Enter 15mm in the Default inside thickness
field.
Click OK.
The feature is shelled: the selected face is left open.
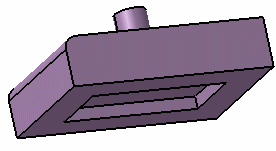
This element (identified as Shell.xxx) is added to the
specification tree.
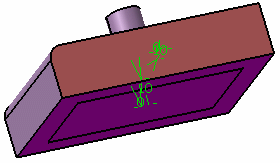
Double-click the shell to edit it.
Click the Other thickness faces
field.
Select a face.
Double-click the thickness value displayed on this face.
Enter a value in the dialog box that appears and click
OK.
The length between the selected face and the shell is
now 10mm.
Click More>> to display the expanded dialog box:
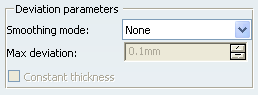
Select the Smoothing mode under the
Deviation parameters section.
There are three types
of smoothing modes:
-
None:
No smoothing is applied. This is the default option. The Max deviation field and Constant thickness
option are disabled.
-
Manual:
Allows you to enter a maximum deviation. The default value is 0.1 mm.
The Constant thickness option is enabled to allow
you to apply a constant thickness.
-
Automatic:
Smoothing is applied automatically. The Max deviation field is grayed out. However, the Constant thickness
option is enabled to allow you to apply a constant thickness.
Click OK.
For more information, refer to Part
Design User's Guide : Creating Shells.