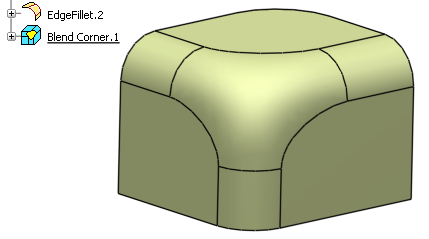
Click Blend Corner  in the BiW Templates toolbar.
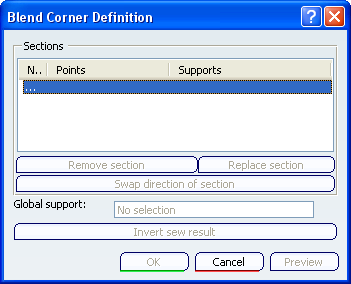
The Blend Corner Definition dialog box appears.
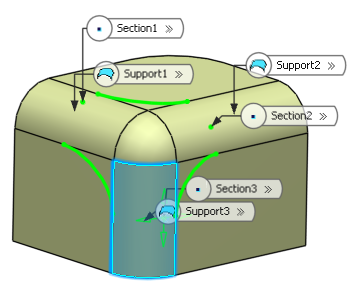
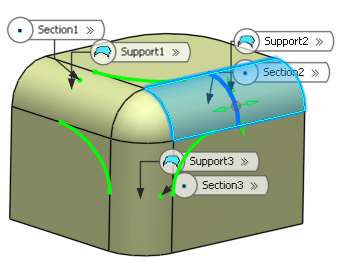
Select two or more faces.
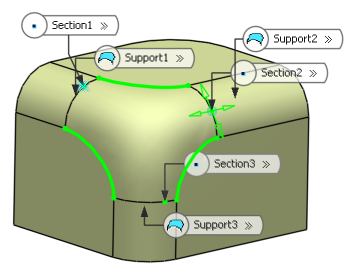
Click Preview.
From the Sections list, you can:
- remove the selected section
- replace the selected section with another section
- reverse the orientation of the selected section.
Move the manipulator arrows to edit the point on the surface.
Click Invert sew result to inverse the orientation of the blend corner.
Click OK to create the blend corner.
The element (identified as Blend Corner.xxx) is added to the specification tree.
