Switching a View to Another Generative View Style

Generative view styles are defined by an administrator and specify the appearance and behavior of a generated view. You can, however, switch a view which uses a given generative view style to another style. This topic explains how to achieve this task.


Before you begin:
  • Open a drawing representation.
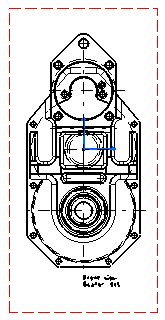
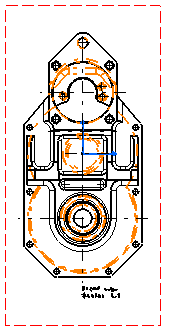
  • Generate a front view using a specific generative view style. In our example, we have specified that hidden edges should be displayed in orange, using a specific linetype and thickness.


Related Topics
Applying the Generative Style of a View to Another View
  1. Go to Tools > Options > Mechanical > Drafting > Administration tab, and clear the Disable generative view style usage check box.

    This activates the generative view style functionality.

    Important: If you deactivate Disable generative view style usage option in Tools > Options > Mechanical > Drafting > Administration, Generative view style field, then the 3D colors option will not be available in the view properties any more.

  2. Right-click the front view and select Front view object > Generative View Style > Set View Style. The Choose a style dialog box appears, displaying the list of available generative views styles.

    Important: The generative view styles available in the list depend on pre-defined set of parameters by the administrator.

  3. Select a style, CustomGenerativeStyle for example, and click OK.

  4. Update the view by clicking Update , for example.

    The view is updated and the parameters defined in the selected style are applied to the view.

    In our example, hidden edges are projected in black, with a different linetype and thickness than previously. Note that you may obtain a different result. This result depends on the parameters defined in the generative view style you selected.