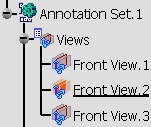
Activate the Front View.2 annotation
plane.
Click Dimensions
 .
.
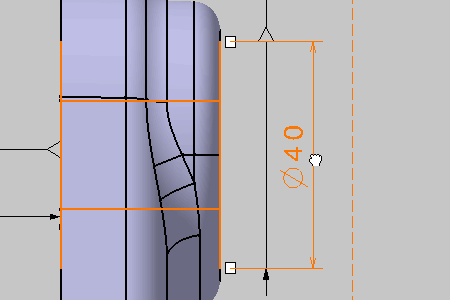
Select the surface as shown on the part.
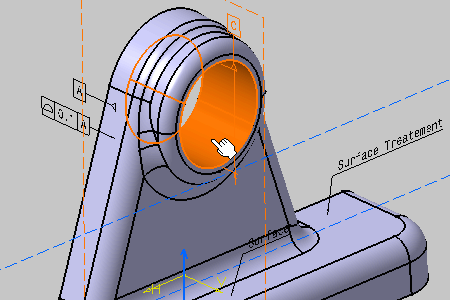
Click anywhere outside the geometry to create the
dimension.
The dimension is created.
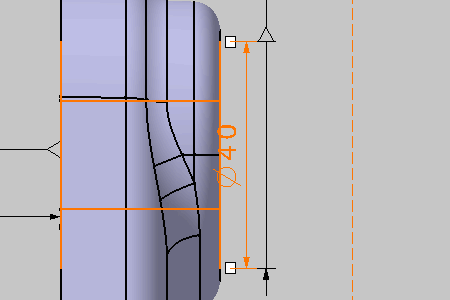
Drag the dimension.
The Dimension Properties toolbar displays five combo
boxes:
- Line Type to select the dimension line attachment.
- Tolerance Description to display the tolerance according to a
standard.
- Tolerance to valuate the tolerance dimension.
In the Dimension Properties toolbar, select
TOL_NUM2 in the Tolerance Description combo box, and
+-0.5 in the Tolerance combo box (the dimension is
still selected).
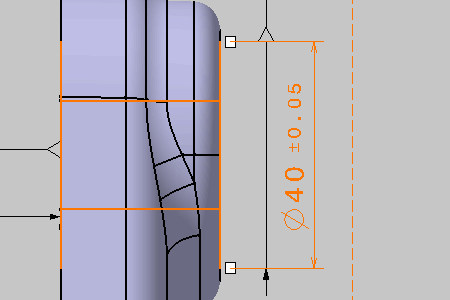
Tolerances are displayed with the dimension.
