Creating a Datum and Datum Targets | |||
| |||
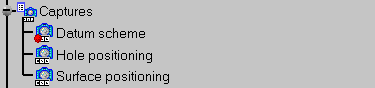
Right-click the Datum scheme capture and select Set Current. All the created annotations will be added to this capture as long as it is current.
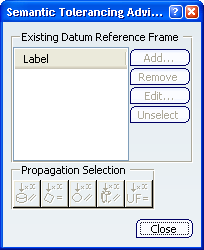
The Semantic Tolerancing Advisor dialog box appears.
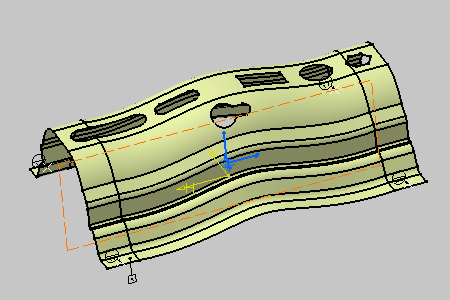
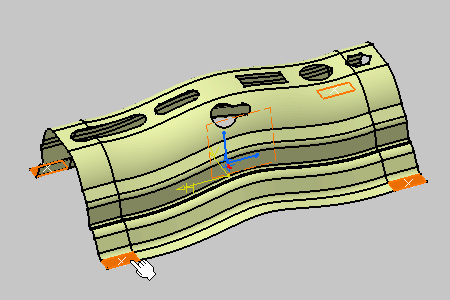
Select the four surfaces as shown below on the part (CTRL + Click). The last selected surface will support the datum.
The Semantic Tolerancing Advisor dialog box appears.
Note: Buttons and options displayed in the dialog box depend on your selection.
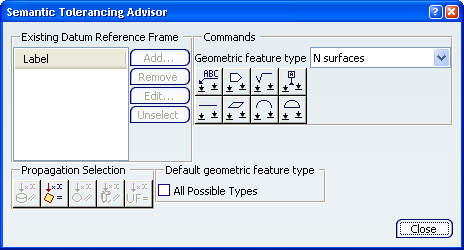
Click Semantic Datum (N surfaces):
 .
.
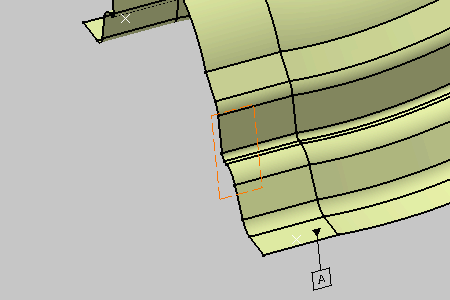
The datum is created.
The Datum Definition dialog box appears.
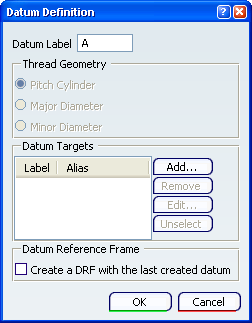
Important: The Thread Geometry frame only appears in ASME Y14.5-2009 standard context.
Click Add in the Datum Definition dialog box.
The Datum Target dialog box appears. Keep the options as is.
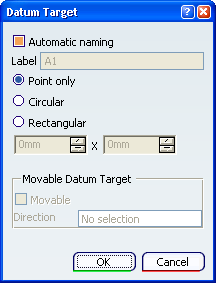
Important: The Movable Datum Target frame only appears in ASME Y14.5-2009 standard context.
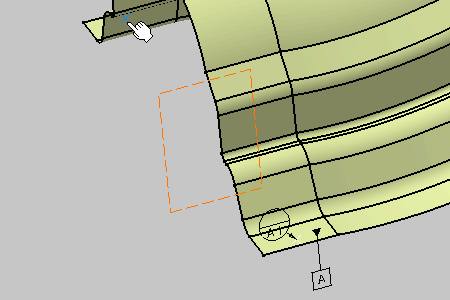
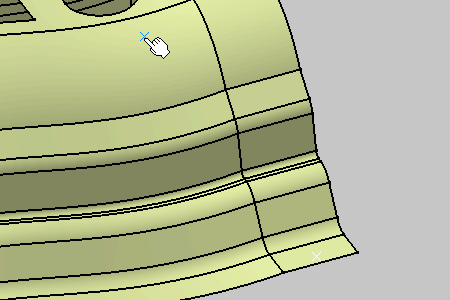
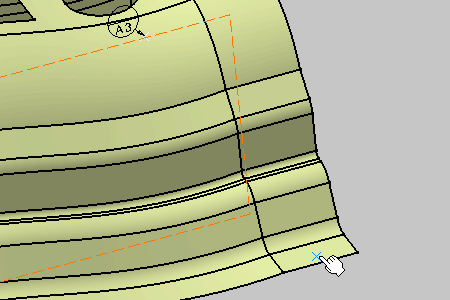
Select the target points as shown below on the part.
-

Important: You do not have to click OK in the Datum Target dialog box, selecting another point automatically validates the datum target creation.
Note:
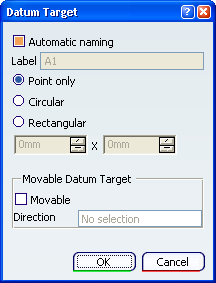
The Movable Datum Target frame is editable once the point selected.
Select Movable and define a Direction to define how it will be move.
-
-
-
-
Click OK in the last Datum Target dialog box to end the datum target creation.
The Datum Definition dialog box is updated.
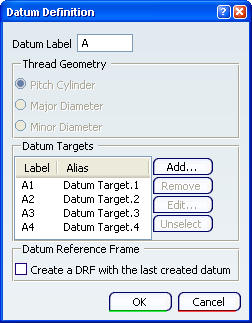
Click OK in the Datum Definition dialog box.
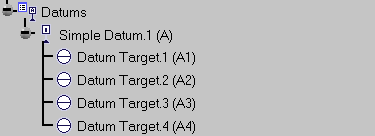
The datum and datum targets are created in the geometry and specification tree.