Using PowerCopy with an Annotation Set | |||||
|
| ||||
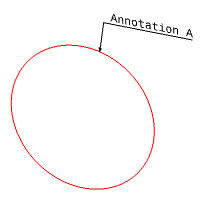
Open product A and in the Functional Tolerancing & Annotation workbench add an annotation.
In this example we used Text with Leader
 to add some text.
- The text is added to the product.
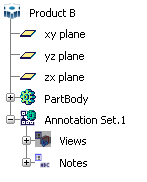
- An Annotation Set node is added to the specification tree.
Create a PowerCopy of the annotation set:
- In the specification tree, select Annotation Set.
The dialog box is automatically filled with information about the selected elements.
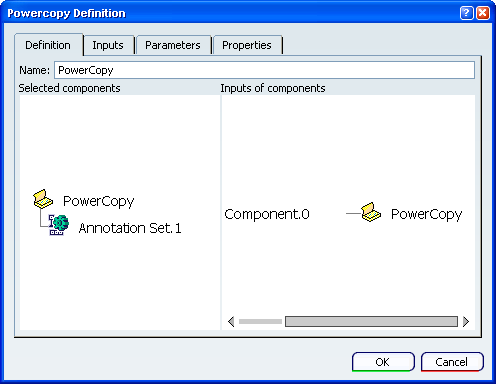
- Click OK in the dialog box.
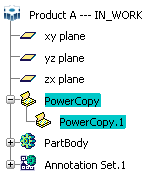
A PowerCopy node is added to the specification tree.
- In the specification tree, select Annotation Set.
Open product B.

In product B, create an instantiation of the PowerCopy from product A:
-
Click
 and select .
You are now in the Part Design workbench.
- Click Insert > Instantiate From Representation
 .
.The Object Selection dialog box is displayed.
- Click OK in the dialog box.
- The annotation is added in the 3D area (in this example, Annotation A).
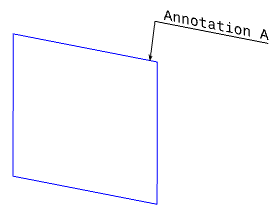
- An Annotation Set node is added to the specification tree.
- The annotation is added in the 3D area (in this example, Annotation A).
-
Click