Create a Join Feature
You can use the Join command to create
join features on the associated bodies.
Click Join
 . .
The Join dialog box appears.
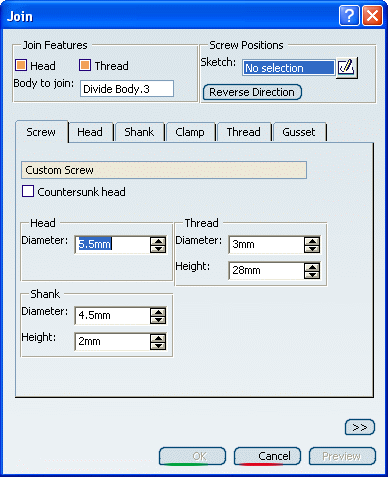
Select the point in the center of the plane (Sketch.2)
as the Sketch for the Screw Positions.
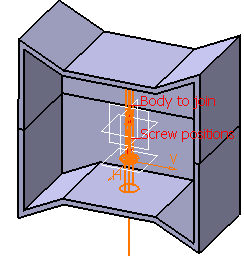
At each non-construction point defined in the sketch, a screw
will be positioned. The tip of the arrow points to the body
that will be the thread.
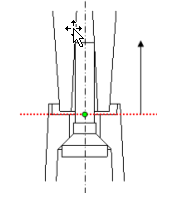
In this case, the lower body will have the head
geometry constructed within it. While the upper body will have
the thread geometry. By either clicking on the arrow or clicking
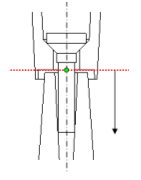
on the Reverse Direction button, the tip of the arrow
will be reversed, and therefore the geometries will be the opposite
from what was described (i.e. the lower body contains the thread
geometry while the upper body contains the head geometry).
Define the parameters in the Screw, Head, Shank,
Clamp and Thread tabs.
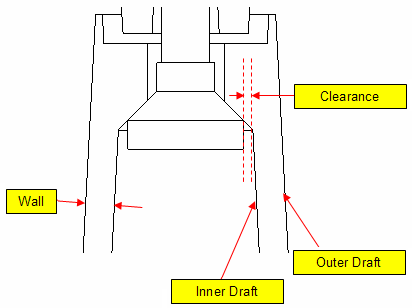
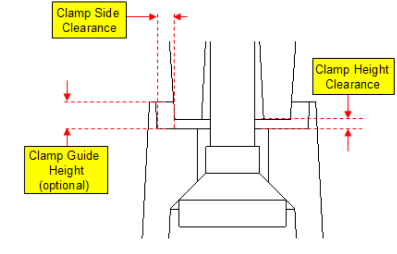
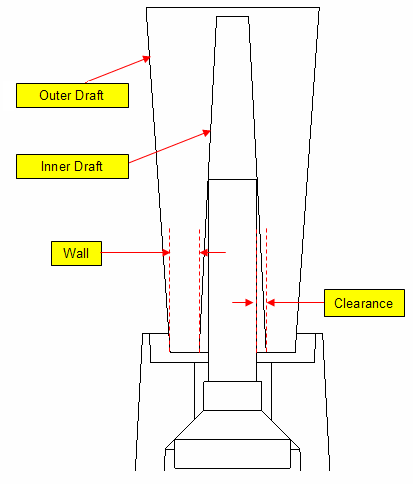
Now that the desired join feature has been defined,
click OK to create the feature.
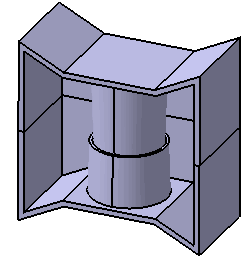

Creating a Gusset
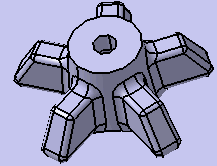
You can define gussets around the head and the thread of a join feature.
A join feature often has stiffening gussets around the head, thread or both.
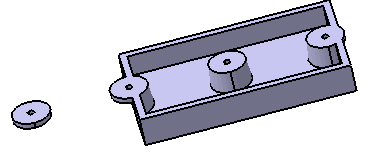
Click Join.1 under Divide Body.2 in the specification
tree.
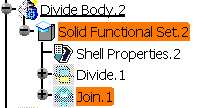
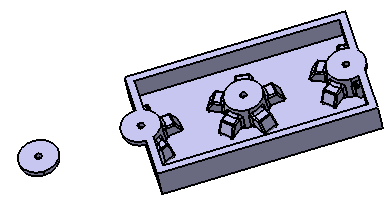
Select the Gusset tab. Click Head in Gusset. Uncheck Thread in Join Features. Click OK.
The geometry is produced for each of the points. Gussets are created
only for the inside shapes. The geometry created for the outside point
and outside portion of the boundary point do not have gussets.
|