Adding, Replacing and Removing Objects | ||
| ||
Add Objects
While routing the branches, you can add objects to it.
To add an object before or after an object in the list:
Here the object (a point) is added to the flexible curve before the object selected in the list (a support).
![]()
Replace Objects
While routing the branches, you can replace an object with the other object in the geometry area.
To replace an object in the list with another one, for example an equipment connector:
The result looks like this:
![]()
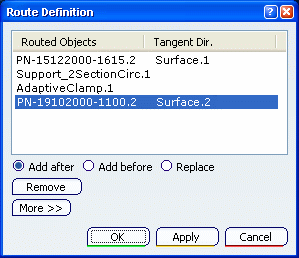
Remove Objects
While routing the branches, you can remove the objects.
To remove an object from the list:
The object (here a support) is removed from the flexible curve.
![]()
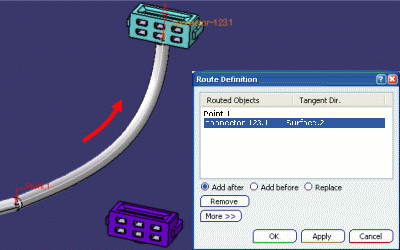
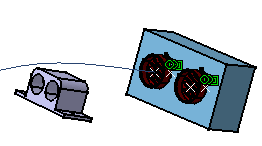
Change a Connector
When changing a connector in the Route Definition dialog box, you can modify the branch/segment orientation without noticing it:
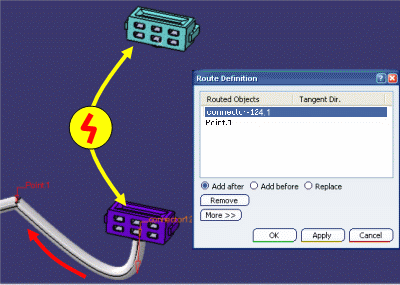
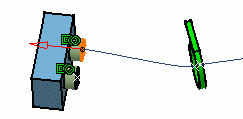
Click Add before, then select the new connector (the blue one).
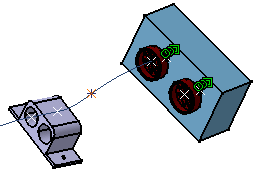
Note that the option returns to the default value: Add after.
Important: If you do not select Add before, the blue connector will be added to the network after Point.1 and the branch/segment orientation will be changed, as shown below.