Adding / Editing Documentation | ||
| ||
Activate a class.
Activate Documentation Editor
 from the Authoring toolbar.
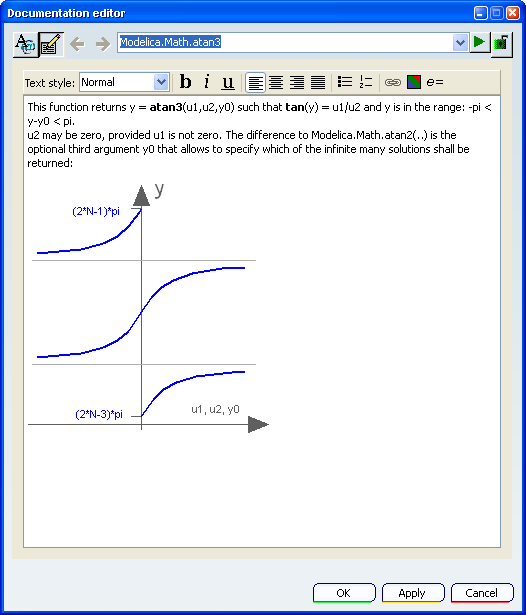
The Documentation Editor dialog box appears.
If a documentation already exists for this class, it is displayed.
If no documentation exists, you can use this editor to create a documentation.

Select your display mode(s):
- Text Editor
 : to type and format your text using the text format commands.
 - Html Editor
 : to check and edit html tags.
Tip: You can use simultaneously these two modes. - Text Editor
Edit the text:
- typing text and using the text format commands (in the Text field)
- typing text and html tags (in the Html field)
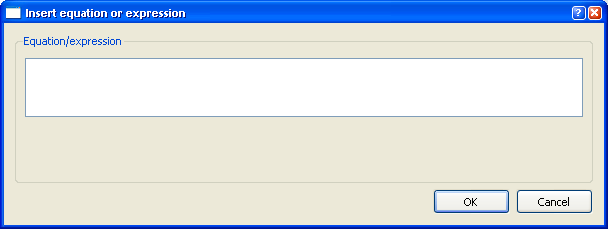
Select Insert Equation
 .
.
Type your equation then click OK.
Your equation is inserted.
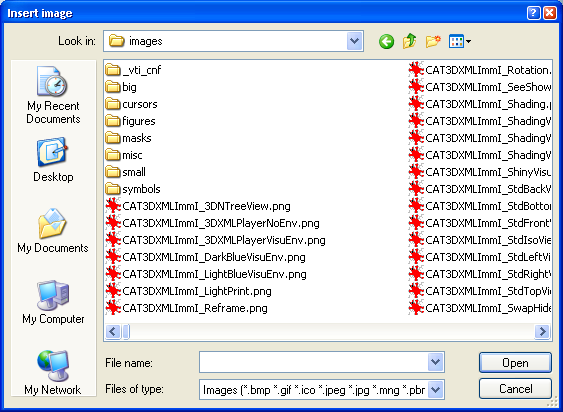
To add images, click Insert Image
 .
.
Browse to select your image then click Open.
Your image is inserted in the documentation text.
To add an hyperlink to an external document, select a word in your text from the Text editor, then select Create link
 .
.
Click Browse or enter an URL, then click OK.
The hyperlink is inserted.
Click Apply to add this information to the active class without closing the Documentation Editor dialog box.
Select another class.
Its documentation appears in the Documentation Editor dialog box.
Note that a red lock
 appears, to indicate that this class is not the active one, so it cannot be edited.
Click the red lock
 symbol to activate the component.
The symbol turns green, you can now edit the documentation of this class.
Use the blue arrows to navigate through the previous and next documentation pages that you have already opened.

Click OK to close the Documentation Editor dialog box.