Defining the Capture Area | ||
| ||
Capture a Screen Area
The Screen Area mode lets you define the recorded area by drawing a rectangular area anywhere on the screen.
Click Record or pause
 to start recording.
Drag (using the left mouse button) to draw a rectangle.
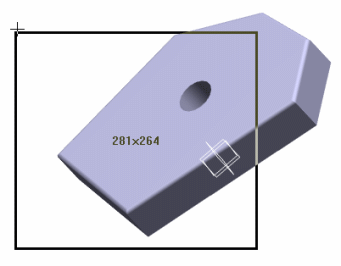
As you drag, you draw a rectangle like this, and the size of the rectangle is displayed:
Release the mouse button to close the rectangle and define the part of the screen to be recorded.
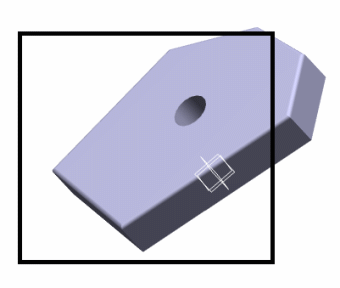
When you release the mouse button, the selected area is highlighted like this:
The recorded area will be this rectangle. Every window, toolbar, dialog box, viewer, etc. in this area will be recorded.
When finished recording, click Stop
 .
.Click Save.
The player dedicated to the selected compressor opens to replay the video.
For instance, if Full Frames (Uncompressed) has been selected, the Windows Media Player opens and only the selected part of the screen is displayed in the video:

 .
.
![]()
Capture the Full Screen
The Full Screen mode lets you record the whole screen.
In the 3DS Video Record toolbar, select Full Screen
 .
.Click Record or pause
to start recording.When finished recording, click Stop
Click Save.
The player dedicated to the selected compressor opens to replay the video.
For instance, if Full Frames (Uncompressed) has been selected, the Windows Media Player opens and the whole screen is displayed in the video:

