Selecting Using a Filter | |||
| |||
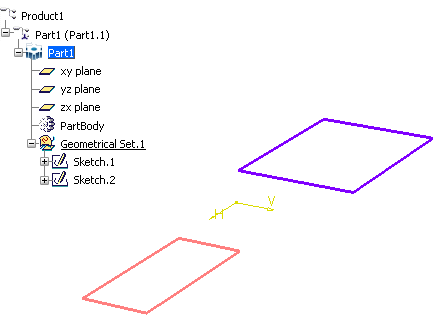
Open a document containing a geometrical set with at least one sketch.

By default, all the icons are deactivated which means that no filter is applied but you can restrict the selection to specific element types by clicking the corresponding icons.
Warning: - If you deselect a type, it cannot be selected in the geometry anymore unless all other types are deselected.
- If you deselect a mode, it cannot be selected anymore for each active type unless other modes are deselected.
- You cannot activate both filter modes simultaneously (it does not make sense anyway). Only two states are available: either Feature Element Filter or Geometrical Element Filter is activated, or both modes are deactivated.
- If you select a filter mode then run a command requiring an element type incompatible with this filter, the filter mode's icon is grayed out and you cannot select the element. In that case, use the Reset Selection Filters command then select the relevant filter mode.
Click Feature Element Filter
 .
.
Depending on the filter you select, the following cursors are used:
- When the selection is forbidden, the shape
 is used and this,
whatever the filter you select.
is used and this,
whatever the filter you select. - When a filter other than Geometrical Element Filter
(e.g. Feature Element Filter, Point Filter,
etc.) is activated , the cursor shape is
 when pointing at an
element and the hourglass is displayed after selecting the
element.
when pointing at an
element and the hourglass is displayed after selecting the
element. - When Geometrical Element Filter is activated, the
cursor shape is
 when
pointing at an element and the hourglass is also displayed after
selecting the element.
when
pointing at an element and the hourglass is also displayed after
selecting the element.
- When the selection is forbidden, the shape
In the Surfaces toolbar, click Extrude
 .
.
Click OK.
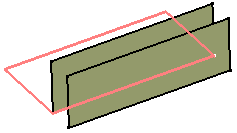
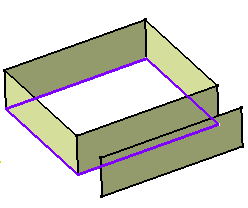
The surface is created:
In the Surfaces toolbar, click Offset
 .
.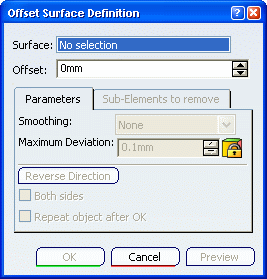
In the Offset Surface Definition dialog box, click Geometrical Element Filter
 .
. The Feature Element Filter mode is deactivated in the User Selection Filter toolbar.
Click OK.
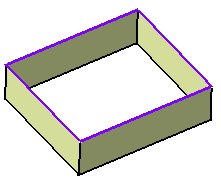
The surface is created:
In the Extruded Surface Definition dialog box, click OK.
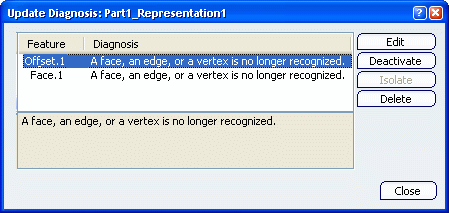
The surface is created and an update is needed:
In the Offset Surface Definition dialog box, click OK.
The offset surface is created for Sketch 2.