Storing Selections Using Selection Sets

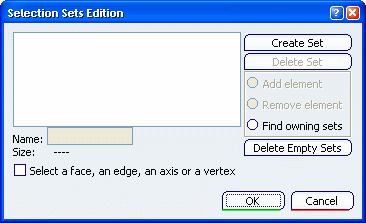
You can put selections into groups that you can store and retrieve. Selection sets are saved with your documents. You can then use the Selection Sets Edition command to add objects to the selection set, rename the selection set, or delete it.


Before you begin:
  • A selection set is associated to the part document it is created in. Adding an element from another part document would create an external link, which is forbidden by the Selection Sets Edition command. Therefore, all the elements added to a selection set must be within the part document associated to the selection set. However, note that this rule does not apply to selection sets created on a CATProcess level.
  • This functionality is not available in the VPM Physical Editor workbench.
Related Topics
Selection Sets
  1. Select Edit > Selection Sets Edition....


  2. In the Selection Sets Edition dialog box, click Create Set.

    A selection set named "Set1" is created.
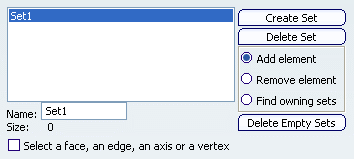
    Each time you create a new selection set, the number is incremented.

    You can also:


    • Rename the selection set using the Name box at the bottom of the Selection Sets Edition dialog box.
    • Reuse a selection by double-clicking the corresponding line in the list.

  3. Point to the selected objects to be included in the set.

    In the example below, all the lines have been selected:
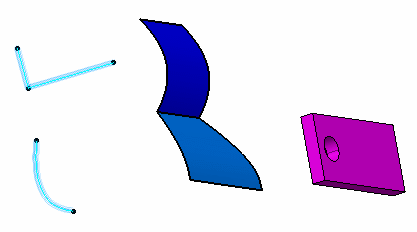
    Tip: You can use the Selecting Using the Selection Traps to add or remove objects grouped in a selection set.

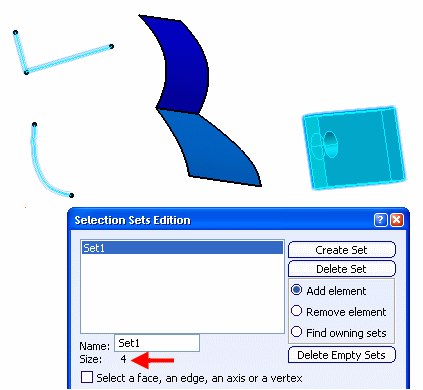
    The size (i.e. the number of elements included in the set) is displayed as well as the new name given to the set. In our example, we called it "Lines".
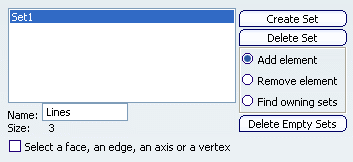
    The default mode is Add element which means that clicking an element in the geometry automatically adds it to the set.

  4. To add more elements to your selection set, click the selection set name in the list, check that Add element is selected then continue selecting elements.

    In our example, the pad is added to the selection set:
    Important:
    • You can add objects to any selection set.
    • To delete an element from a selection set, click Remove element, select the selection set then select in the geometry area the element to be deleted.
    • To delete selection sets that do not contain any element, click Delete Empty Sets.

  5. Optional: Select the Select a face, an edge, an axis or a vertex check box.

    This lets you store sub-elements (such as faces or edges) in the selection set .

  6. Optional: Click Find owning sets then select the desired element in the geometry to highlight the group the element belongs to:
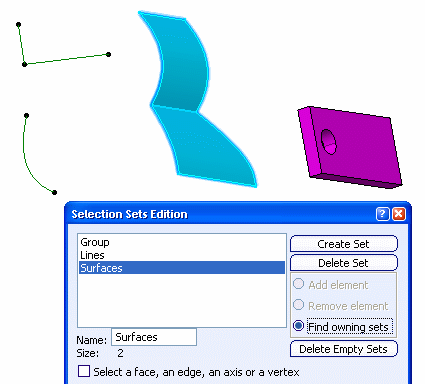


    You can also find the set an element belongs to through the Edit > Find Owning Selection Sets... command. See Finding Owning Selection Sets.

  7. Click OK to close the dialog box.