Creating Pockets and Holes | |||
| |||
Sketch the contour of the pocket.
To do so:
- Click Sketch
 .
. - Select the board to define the working plane.
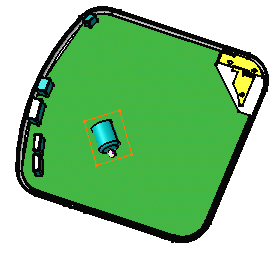
- Click Profile
 and draw the contour around the motor as shown below.
 - Click Exit workbench
 to return to the Circuit Board Design.
- Click Sketch
Create a pocket.
To do so:
- Click Pocket
 .
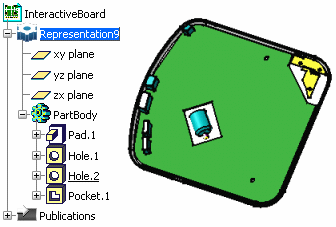
.The Pocket Definition dialog box appears. CATIA previews the pocket with default parameters.
The pocket is added to the specification tree.
Tip: When creating a board or panel, sketch the outlines of any pockets directly at this stage. - Click Pocket
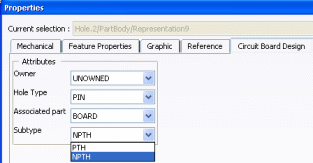
Create two holes.
To do so:
- Click Hole
 .
.
The holes are added to the specification tree.
- Click Hole
Select the Circuit Board Design tab.