Exporting Data | ||||||
|
| |||||
Click Export as IDF File
 .
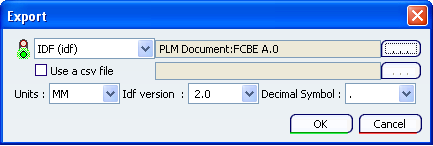
.The Export dialog box opens.
To identify the IDF file, do the following:
- Click the Browse
 button.
 - In the IDF File Management dialog box that opens, check one of these options:
- Local Directory: to export an IDF file on a local disk.
- PLM Document attached to current assembly: to export the IDF file in a PLM Document attached under the root Board assembly. The combo box contains the name of the PLM document(s) already attached under the Board assembly.
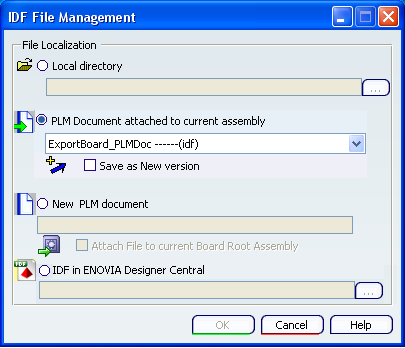
You can save the PLM Document As New Version in database if you check the option. It will be available for a next Export: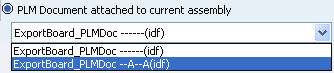
- New PLM Document: to export a IDF file in a new PLM Document. In the empty field, enter a name for your PLM document.

You can attach the PLM Document to the Board assembly if you check the option, but the link will be saved only when you will save the Board assembly. -
IDF in ENOVIA Designer
Central: to export an IDF file in a ENOVIA
Designer Central (DEC). In the empty field, enter a name for your PLM
document or click Browse and the Document Chooser window is displayed:
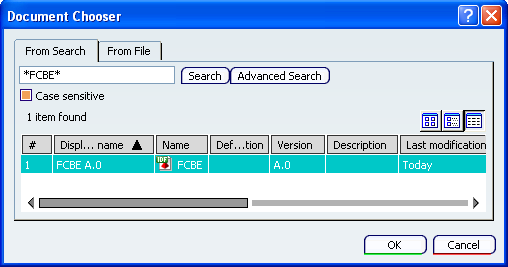
Select your file and click OK. The file name appears in the IDF File Management window:

Click OK and the IDF file is visible in the Export dialog box:
Click OK to export the IDF file from CATIA V6 to DEC. A message appears when your document has been successfully exported.
- Click OK. You return to the Export dialog box.
- Click the Browse